diy

How to make an Electric Chair - Halloween

This year we had an Asylum Halloween so I felt we needed an electric chair to “shock” our guests. This was our end result, it was quite easy to make and was very effective, we added strobe lighting and “electricity crackling” to enhance the realness of the chair. We hope you enjoy our tutorial.

This was part of a large asylum party which can be viewed here.

How to make an Electric Chair

How to make an Electric Shock Chair

Step 1

Starting with the Electric Chair Brain electrode: This was made using an old colander, Battery operated red LED lights, Paint and an extension cord with 1 meter reserved for the cap.

Step One - How to make an Electric Chair

Step Two:

Paint the colander all over with black paint, this will take a few coats of paint, Remove the plastic cover from approximately 1 meter of the extension cord so you can use the wire (Careful where you cut as you want to preserve length near the plugs). Paint the remainder of the extension cord, including the plugs in black paint.

Step 2 — How to make an Electric Chair

Step Three

Push the red LEDs through the holes in the colander and secure with a hot glue gun, twist sections of wire so they protrude and look exposed from the top of the cap, I also used wire to secure the light battery in place.

Step Three - How to make an Electric Chair

Step Four

Add the end of the electric extension cord to the centre of the cap and secure in place, I split the wire on the hidden end and tied the wires in place.

Step four - How to make an Electric Chair

Step five

The frame was made to be secure, I found an old pallet and spray painted it black, we they made a sturdy fame of treated pine that was screwed to the pallet, we attached coasters for the chair legs so the chair would stay in place.

After lots of searching for the perfect chair we settled on a hospital style mobility impairment chair, this had a sturdy frame while having that “medical institution look”. We managed to find this in a thrift shop.

Halloween Electric Chair

Step five - How to make and Electric Chair

Step 6

I made the sides of the chair using plastic stone wall wrap, this was secured in place using large bull dog clips, black fabric was used for the top. The electric brain cap was attached to the remainder of the electrical extension cord, we left the extension cord only loosely attached so it could be placed lower or higher depending on the height of the victim.

Step 6 - How to make an Electric Chair

Step 7

Arm and leg restraints were made from wide belts, found at thrift shops and cut to size

Step 8

Two strobe lights were attached to the top of the wooden frame, with more bull dog clips, they were then attached to a single power source. We placed a sound track of electricity crackling near the chair that was controlled via an iPad.

Step 8 - How to make an Electric Chair

Step Nine

The final finishing touchers included placing dark green velvet at the front entrance, our electric chair photo booth sign, some carrion birds and lastly an electric danger animated device that I happened to find at a local party shop. Our Electric Shock photo booth sign can be downloaded here.

We hope enjoyed this tutorial.

Christmas Cracker - Tutorial

Christmas Crackers are an essential element on the Christmas Dinner Table.  They are simple to make but do take some time to complete so put a couple of hours aside.  This year we've made our crackers to match our Blue and Silver colour scheme. Have fun and be creative with the special gifts you place inside.

We hope you find this tutorial useful.

Christmas Crackers

Christmas Crackers

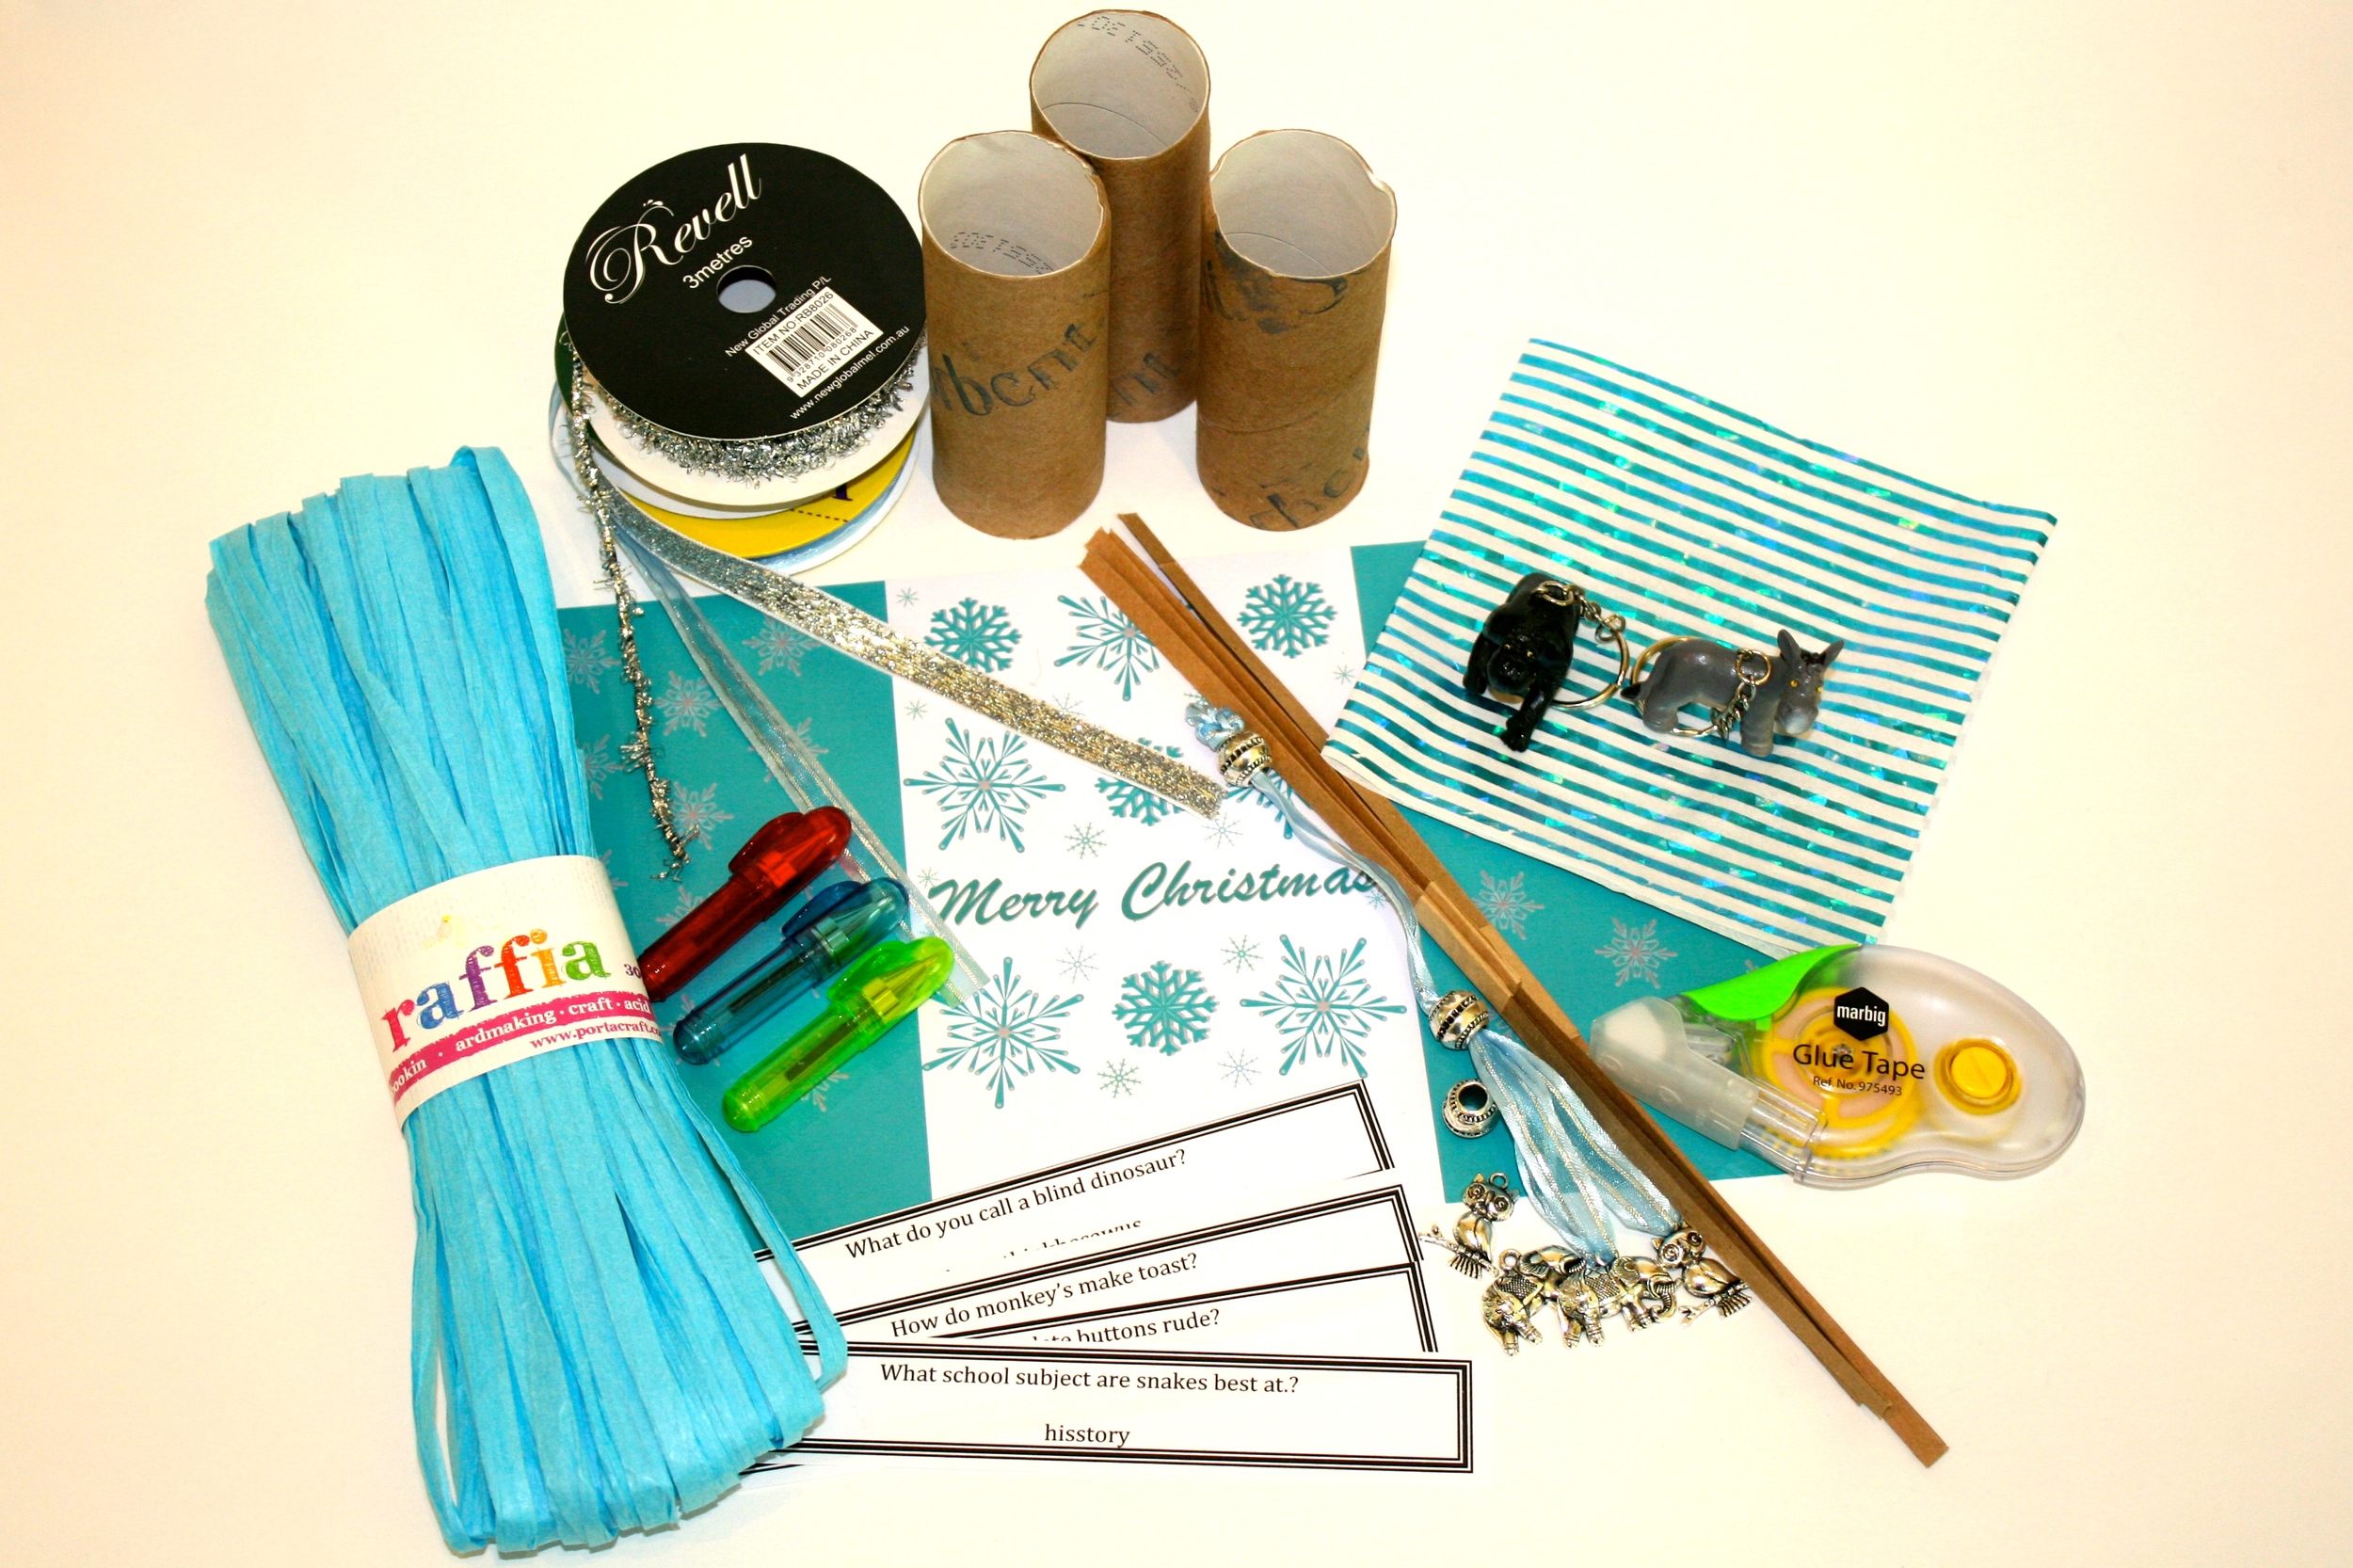
You will need:

  • Cracker Paper 16 cm x 29 cm (any paper will do providing it has a strong construction)
  • Cardboard tubes
  • Cracker Snaps
  • Glue
  • String / ribbon / raffia
  • Tissue Paper
  • Gifts that will fit in the tube 
  • Jokes
Christmas Cracker Tutorial

Christmas Cracker Tutorial

Instructions

  1. Wrap each gift and a joke in tissue paper (see hints)
  2. Put three cardboard tubes end to end in the centre of the cracker paper.  Roll the paper around the tubes and secure with glue.  Allow to dry
  3. Ensure the middle cardboard tube is in the centre of the cracker paper, then slightly pull out the tube on the right, leaving a 3 cm gap between tubes.
  4. With your left hand on the centre tube and your right hand on the right tube, twist in opposite directions and push together at the same time.  This can take some practice so you may want to try with some scrap paper.
  5. Cut ribbon or string and tie around the gap in the cardboard tubes.
  6. Insert the cracker snap and tissue wrapped gift in the other end.
  7. Repeat steps 3 and 4 on the left hand side
  8. Tie the remaining end with ribbon

Hints:

  • I wrapped the gifts in different coloured tissue paper so I could ensure everyone received the age appropriate gift. You can glimpse the tissue through the end of the cracker.
  • I used a very small piece of tape to secure the cracker snap in place
  • There are lots of sources of Christmas Cracker Jokes on the Web, or you could use the Jokes I've collected.
  • Cracker Snaps are available from most on-line party shops.  I used The Party People

Vendor Credits

  • Printable Cracker paper: Chic Party Ideas (soon available in our shop

See these Crackers in Action


Christmas Countdown with FREE PRINTABLE

Christmas Countdown Printable

It's finally the 1st day of December, the day for putting up the Christmas tree and adorning your house with Christmas Decorations and Cheer.    Christmas carols will be playing from every shop you visit and children all over the world will be on their best behaviour, to ensure they are on the "good list".

Christmas is one of my absolute favourite times of the year, the month of December is full of parties and celebrations and a great time to catch up with friends and family.

To mark such an important date and to ensure your children are fully embracing the spirit of Christmas, I've created a free downloadable Christmas Countdown calendar.  

Just download, print, cut and enjoy.     

I hope you enjoy out upcoming Christmas posts.

Julie                                  


Get Creative, add your personal touch

If you are creative and crafty you can embellish the countdown numbers and use them in creative ways, you can try:

  • A touch of glitter will add sparkle
  • A couple of bells will add shine
  • A beautiful ribbon and bow will add some class
  • Include the countdown in your child's lunchbox, hang on the Christmas Tree or make a daily game of hide and seek.
  • Include a special note on the back.

We'd love to see how you have used these printables.

Creative ideas